How to Calculate Cutting Speed, RPM and Feed

Cutting speed, spindle RPM and feed rate are the three numbers you have to settle before every operation, and they decide tool life, surface quality and machining time. This guide shows how to calculate them by hand: you will find the formulas, sample parameters for common materials and step-by-step calculations that are easy to repeat for your own tool and part. If you would rather skip the arithmetic, enter your values in our free cutting parameters calculator, which shows every formula with your numbers in it.
Machining parameters: what we are actually calculating
Metal cutting is a game of three quantities. The basic cutting parameters are the cutting speed (how fast the cutting edge travels relative to the material), the feed (how fast the tool advances into successive layers) and the depth of cut (how much material one pass removes).
From these follow the derived values you actually set on the machine: spindle RPM and feed rate in mm per minute. The whole machining process, from roughing to finishing, is a matter of consciously juggling these numbers.
Why does it matter so much? Because badly chosen parameters spoil everything at once: the wrong cutting speed means either premature tool wear or needlessly slow work, the wrong feed destroys cutting edges or leaves a rough surface, and excessive depth overloads the machine. Well-chosen parameters, on the other hand, deliver good surface finish, predictable tool life and a short cycle time all at the same time. Calculating cutting parameters always follows the same order: first pick the cutting speed for the material-tool pair, then compute the spindle RPM, and finally choose the feed and the depth. The parameters act together, which is why every calculator walks you through them step by step.
Cutting speed (Vc)
Cutting speed () is the speed at which the cutting edge travels over the machined surface, expressed in metres per minute. It is the most important parameter, because cutting speed directly controls the temperature in the cutting zone, and temperature governs edge wear. It depends on the material-tool pair: soft materials allow higher speeds, hard ones limit them.
The formula is simple:
where is the diameter in millimetres and the revolutions per minute. This one formula is enough to calculate the cutting speed for any tool. Mind one trap: in milling and drilling means the tool diameter, while in turning you substitute the workpiece diameter, because it is the part that rotates, not the tool. In both cases what counts is the effective cutting diameter at the point of contact: a ball-nose cutter working at shallow depth "sees" a much smaller diameter than nominal, so the RPM has to go up.
Where do you get the right value? Every manufacturer publishes recommendations: the catalogue cutting speeds for a specific insert grade or cutter and material group are the best starting point, and every other rule of thumb is only an approximation of them. Catalogue values are typically quoted for about fifteen minutes of continuous cutting per edge; typical speeds for common tool-material pairs are collected in the table below.
Calculating the spindle speed
The spindle speed in rpm equals the cutting speed multiplied by 1000 and divided by π times the diameter in millimetres. For a 10 mm carbide end mill at 200 m/min that gives about 6,370 rpm, and for a 50 mm shaft at 150 m/min about 955 rpm. Smaller diameters need a higher RPM at the same .
On the machine you do not set - you set RPM. So the first thing every RPM calculator does is rearrange the formula above:
Example: a 10 mm carbide end mill in structural steel, recommended cutting speed 200 m/min. The RPM calculation looks like this: . The same formula works for turning: a 50 mm shaft and a required cutting speed of 150 m/min give . It also works in reverse: knowing the RPM and the diameter, you can back-calculate what cutting speed is actually running. The calculation takes a moment and protects you from working "by eye", which on one part is half as fast as it could be and on another kills the edge.
One relationship worth remembering: the smaller the diameter, the higher the RPM at the same . That is why a small 3 mm cutter needs over 21,000 rpm to reach the same 200 m/min, and why small tools on machines with limited spindle speed often run below their optimum.
Feed rate calculation
The feed rate in mm/min is the product of the spindle speed , the number of teeth and the feed per tooth . For our 10 mm four-flute cutter at 6,370 rpm with mm that gives about 1,274 mm/min. In turning, the feed rate is simply the RPM multiplied by the feed per revolution .
The second pillar is the feed. The starting point is the feed per tooth (mm/tooth), also given in catalogues. A feed calculator converts it into the feed rate you enter in the program:
where is the number of teeth - the "number of flutes ()" field in online calculators. Continuing the example: our 10 mm cutter has 4 flutes and the catalogue gives . The feed rate is therefore . Knowing the RPM you can repeat this for every tool in the magazine; in turning the feed per revolution (mm/rev) is used instead of , and the feed rate is simply .
The number of teeth matters twice over: more teeth means a higher feed rate at the same load per edge, but also worse chip evacuation. Feed values are chosen separately for roughing and finishing, because feed is what shapes the machined surface most. That is why 2-3 flute cutters are chosen for aluminium and 4 or more for steel. Too low a feed is just as harmful as too high: instead of cutting, the edge rubs, work-hardens the material and dulls faster, and a low feed can also worsen the surface finish. Treat catalogue feed values as a lower limit not worth going below.
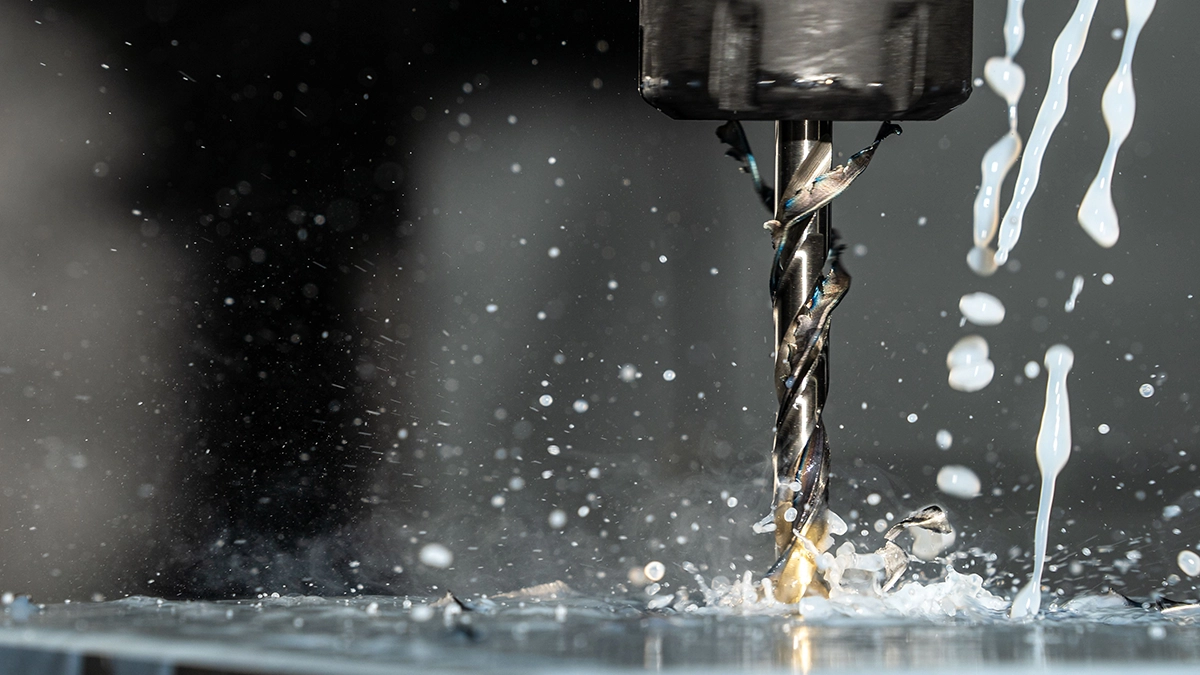
Depth of cut
The third parameter is the depth of cut (axial) and the width of cut (radial in milling). Roughing removes a lot at moderate feed; finishing removes little, at parameters chosen for surface quality. Just as cutting speed follows the material, depth follows the rigidity of the setup: when vibration appears, reduce depth first, before touching the speeds.
A practical rule for solid end mills: up to 1-1.5 diameters in peripheral milling and a fraction of the diameter in full slotting; for turning inserts follows from the edge length and nose radius. Depth and width complete the basic parameter set. How to calculate depth from diameters and match it to the insert, cutter and machine is covered in a dedicated guide on depth of cut.
Typical cutting speeds for common materials
For carbide tools, typical cutting speeds range from 60-120 m/min in hardened steel and 100-180 m/min in stainless steel to 150-250 m/min in structural steel and 300-800 m/min or more in aluminium. HSS tools run several times slower, for example 25-40 m/min in structural steel. The feed per tooth for a 10 mm end mill is typically 0.02-0.15 mm.
The values below are safe starting points for carbide and HSS tools. Treat them as indicative recommendations; the tool manufacturer's data always takes precedence, and you fine-tune at the machine. All values assume flood coolant.
| Workpiece material | carbide [m/min] | HSS [m/min] | for a 10 mm end mill [mm/tooth] |
|---|---|---|---|
| Structural steel | 150-250 | 25-40 | 0.04-0.08 |
| Stainless steel | 100-180 | 15-25 | 0.03-0.06 |
| Hardened steel (45-55 HRC) | 60-120 | - | 0.02-0.05 |
| Grey cast iron | 120-250 | 20-35 | 0.05-0.10 |
| Aluminium | 300-800+ | 60-120 | 0.05-0.12 |
| Brass, bronze | 200-400 | 40-70 | 0.05-0.10 |
| Plastics | 200-500 | 50-100 | 0.05-0.15 |
How to read the table: the material decides the order of magnitude, the tool the upper limit; speeds from the top of the range require stable conditions. A rigid machine, coolant and short tool overhang let you go higher; interrupted cuts, a thin-walled part or long overhang mean going lower - for interrupted cutting drop the speed by 20-30%, because the table assumes continuous cutting. There is also a simple correction rule: the harder the material within a group, the lower the , and work-hardening materials (stainless, superalloys) additionally call for a lower feed. In short, the required cutting speed is always the resultant of material, tool and setup stability.
Choosing parameters: tool life versus machining time
Choosing the cutting speed is always a compromise. A higher speed shortens machining time, but it also raises temperature and accelerates edge wear exponentially: Taylor's classic equation says a rise of just over ten percent in can halve tool life, because in that equation cutting speed carries the largest exponent.
Parameter selection in general is an art of balance. Speed buys time faster than it loses it - up to a point.
On the other hand, dropping below a certain threshold does not help either: too low a speed encourages built-up edge, worsens the surface and inflates the cycle time, while tool life improves only on paper, because the built-up edge tears fragments out of the cutting edge when it breaks away. Both extremes usually come from routine - settings carried over between materials without recalculating; the right speed for a new batch of material can differ from the last one. It pays to adjust the speed to the actual state of the edges from time to time: if inserts wear out too fast, come down; if they last several times the norm, try going up. That knowledge of your own machine park is worth more than any catalogue.
In practice the optimum lies where the cost of tool wear and the cost of machine time add up to a minimum; that is the speed process engineers actually hunt for, not the catalogue maximum. With an expensive machine-hour it pays to run faster and change inserts more often; with expensive special tools you go slower, because tool life is the currency that buys cycle time. Systematic optimisation starts with simply logging insert life. In series production the payoff is real: optimised parameters can cut the cycle by tens of percent with no change of machine or fixturing, and optimisation does not end at - feed and depth belong to the package too. We wrote about why every saved minute matters in the most expensive minute in CNC machining.
How do you know a correction is due? The edge itself signals it. Faster tool wear than usual, a shiny wear land on the clearance face and chips turning dark blue are the typical picture of an edge running too fast - a sign to come down 10-20% on speed. Built-up edge and a smeared surface say the opposite: go up on speed or feed. Edge chipping usually points to vibration or interrupted cutting rather than itself; the cure is less depth and more rigid clamping, which restores even cutting. Always inspect a worn edge with a loupe before changing parameters, because each wear mechanism has a different remedy.
And there is the second dimension: machining quality. The right cutting speed minimises built-up edge and vibration, and a well-chosen speed also minimises the micro-chipping that ruins an edge. The final smoothness, however, is governed mainly by feed: in turning, halving the feed improves the theoretical profile fourfold, while speed affects roughness only indirectly - though a moderately higher speed does reduce the tendency to built-up edge, which you can see in a cleaner chip. How this translates into and we covered in the article on surface roughness. Finishing therefore runs at higher and lower feed, roughing the other way round; matching speed and feed to the machining stage is half the battle, and the other half is keeping the parameters right as the edge wears. Good machining quality simply starts with good numbers.
Cutting speed calculation step by step
Here is the complete calculation for two typical cases; the same scheme works for any other operation. Just substitute your own numbers, exactly as an online calculator would: enter the tool diameter (or the workpiece diameter field for turning), take from the table and work through the rest.
Milling, structural steel, 10 mm carbide end mill, 4 flutes. Step 1: from the table or catalogue we take and . Step 2: convert to RPM: . Step 3: the feed rate is . Step 4: depth for peripheral milling. If the machine cannot reach that RPM, cap at the machine maximum and reduce the feed proportionally; once you know the RPM, the rest is always simple multiplication.
Turning, stainless steel, 40 mm shaft, carbide insert. We take and a feed of 0.2 mm/rev. RPM: , and the feed rate is . A practical note: in turning the workpiece diameter shrinks with every pass, so CNC controls use the constant surface speed function (G96), which corrects the RPM on the fly to hold the programmed cutting speed; we covered it in our guide to G-code.
A typical online calculator asks for exactly the data you see above: the tool diameter (or object diameter for turning), the cutting speed from the catalogue, and for the feed additionally the number of flutes () and the feed per tooth. The results are the spindle RPM, which goes into the S address of the program, and the feed rate for the F address. Always compare the calculated RPM with the machine's maximum; the free cutting parameters calculator does that check itself once you enter the maximum spindle speed. The feed calculator and the RPM calculator are thus one and the same arithmetic: do it once or twice and you will start doing it in your head.
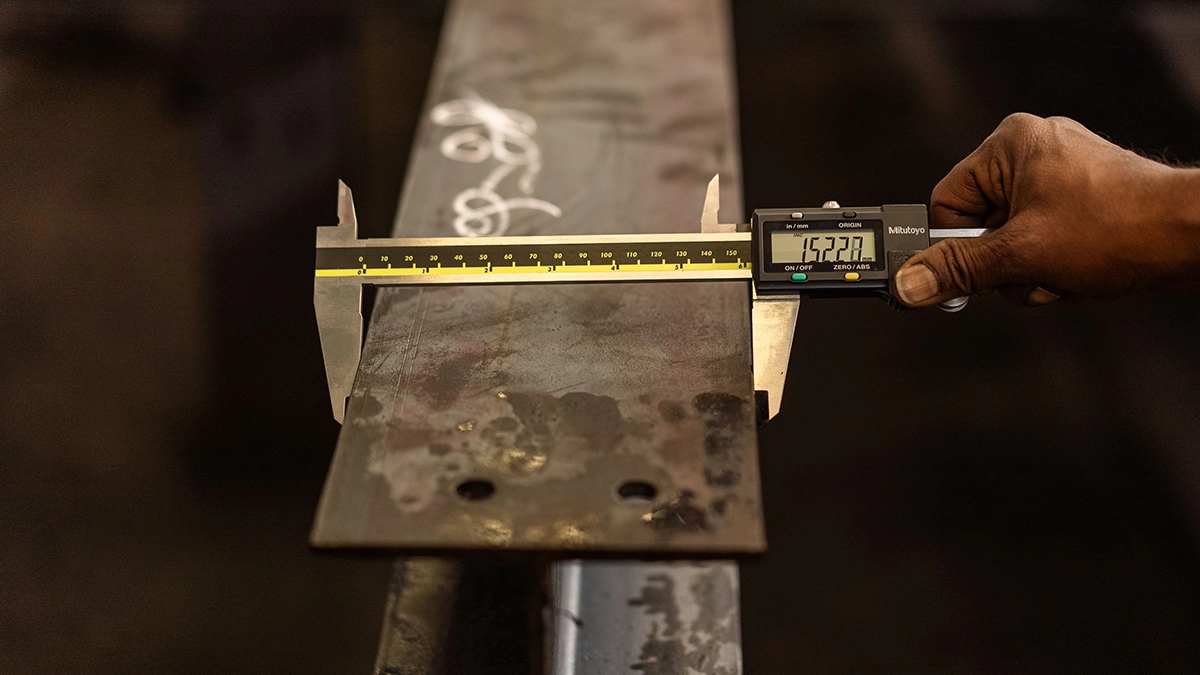
Cutting parameters in the workshop and in the quote
Knowing cutting speeds is useful beyond the machine. Speed and feed directly determine the cycle time, and cycle time is the main component of a part's price. Optimised parameters on the machinist's side and sensible tolerances on the designer's side are two halves of the same saving.
That is why in the MetronQ quoting tool the volume of material to remove and the required accuracy are converted into machining time using realistic parameters rather than a flat rate; how the whole process works we described in what CNC machining is, and indicative rates are listed in the pricing section. Each step from the measured geometry to the machining time and the price is described in how an automatic CNC quote is computed.
Finally, four habits that pay off. First, before you press start, calculate the parameters even on paper: after two weeks it becomes second nature and the numbers in the program stop being guesses, making quality repeatable. Second, record proven settings: parameters from successful jobs are a better catalogue than any examples from the internet, because every part gets a verified set and the optimised settings are ready for the next order. Third, change one thing at a time - with two changes you never know which one helped or how it affected tool life. Fourth, listen to the machine: an even hum means good parameters, squealing usually means too much speed or too little feed, and rumbling means vibration, which is answered with depth, not .
Frequently asked questions about cutting parameters
What exactly are cutting parameters?
The complete set of quantities describing the work of the edge: cutting speed , feed (per tooth, per revolution or per minute), depth and width of cut, and the resulting RPM. Calculating them is simple arithmetic with two formulas; the harder part is choosing values for specific conditions, because the parameters act together on a lathe, mill or drill.
Does every cutting tool have one correct speed?
No, every tool has a range that depends on the workpiece material, cooling and rigidity of the setup. The optimum for the same cutter in aluminium and in stainless differs several-fold, so the right speed is always a range, not a point. Pick it for the specific operation and note down the parameters from the first successful part.
What does cutting speed depend on?
Cutting speed depends above all on the material-tool pair: a harder workpiece means lower , a harder tool (carbide, ceramics) means higher. Then come cooling, clamping stability and whether the cut is continuous. For an unusual material, find its ISO group (P/M/K/N/S/H) and start from the bottom of the bracket; milling uses a similar to turning.
What happens when the speed is too high or too low?
Too high a speed sharply raises temperature, accelerates edge wear and cuts tool life from hours to minutes. Too low a speed increases the risk of built-up edge, spoils the surface and wastes machine time. Both extremes usually come from settings copied from another material without recalculation; the right speed minimises both risks at once.
Is there a free cutting parameters calculator?
Yes, metronq.com offers a free cutting parameters calculator, linked at the top of this guide. You enter your values and it shows every formula with your numbers in it, and once you enter the machine's maximum spindle speed it also checks the calculated RPM against it. Everything this article does on paper happens there automatically.
How do I estimate the numbers quickly without a calculator?
Use the simplified formula . For and a 10 mm tool that gives 6,360 rpm, almost identical to the full formula. Multiply the RPM by the number of flutes and the feed per tooth to get the feed rate, and invert the formula to back-calculate the cutting speed from RPM.
Sources
- 1.Sandvik Coromant, "Training Handbook: Metal Cutting Technology", 2017 (formulas and parameter ranges)
- 2.ISO 3685:1993 (tool life testing, Taylor's equation)
- 3.K. Jemielniak, "Obróbka skrawaniem", Warsaw University of Technology Press (fundamentals of metal cutting theory)
- 4.tool manufacturers' technical catalogues (recommended Vc and fz values).
Read next
Automatic CNC machining quotes
Priced from the 3D model or the drawing, on your machines and your rates. You just approve it. 14 days free, no card.
Create a free account